That said, I'm here to share with you kids dinner from last night. Get excited! No really, let's look at this as a guide for cooking a good, juicy burger on the stove quickly, easily, and without any tears or sniffles. What you'll see here is pretty much my go-to method even though the ingredients may change with the seasons, my mood, or what's in the fridge.
Let's start with some good ground beef. I always try to use grass-fed beef. I can't remember the last time I didn't. I'm supposed to be crunchy, right? I usually get it at Whole Foods or from my favorite rancher: www.rehobothranch.com sells lots of pasture-raised products. While I do eat conventional meat in restaurants sometimes, I figure the stuff I buy for my home ought to come from happy animals (well, until the bitter end... sorry piggie! one day I'll quit eating you).
Here's the basics: mix in some goodness, cook the meat evenly. That's the basic recipe for success. Let's begin!
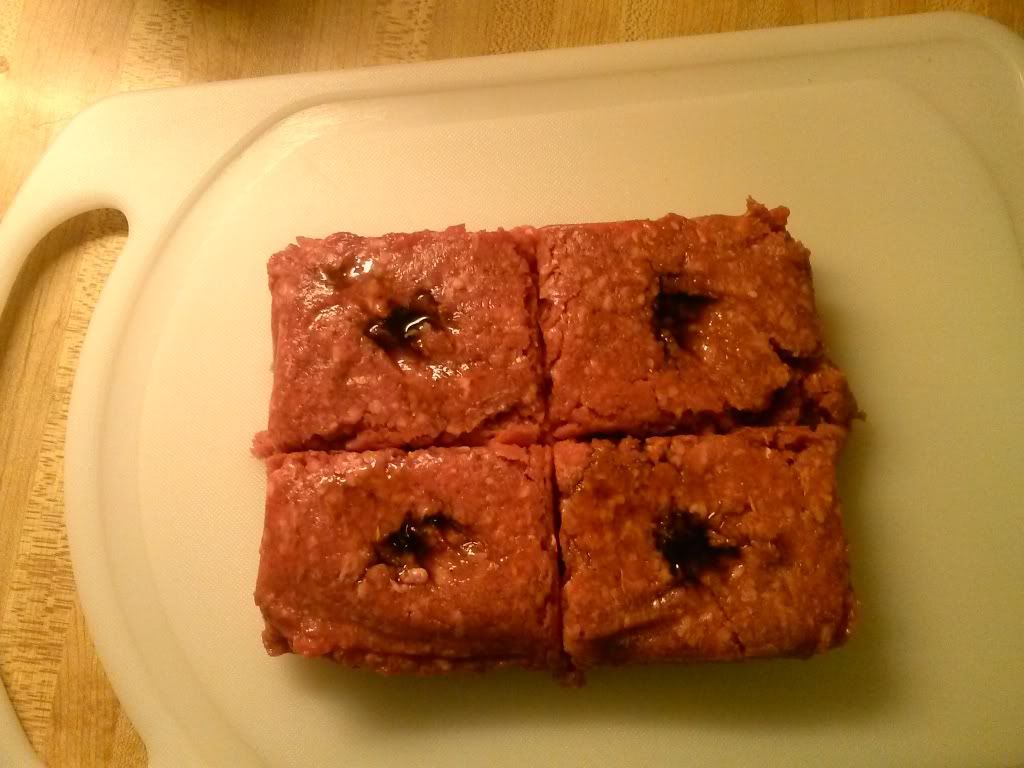
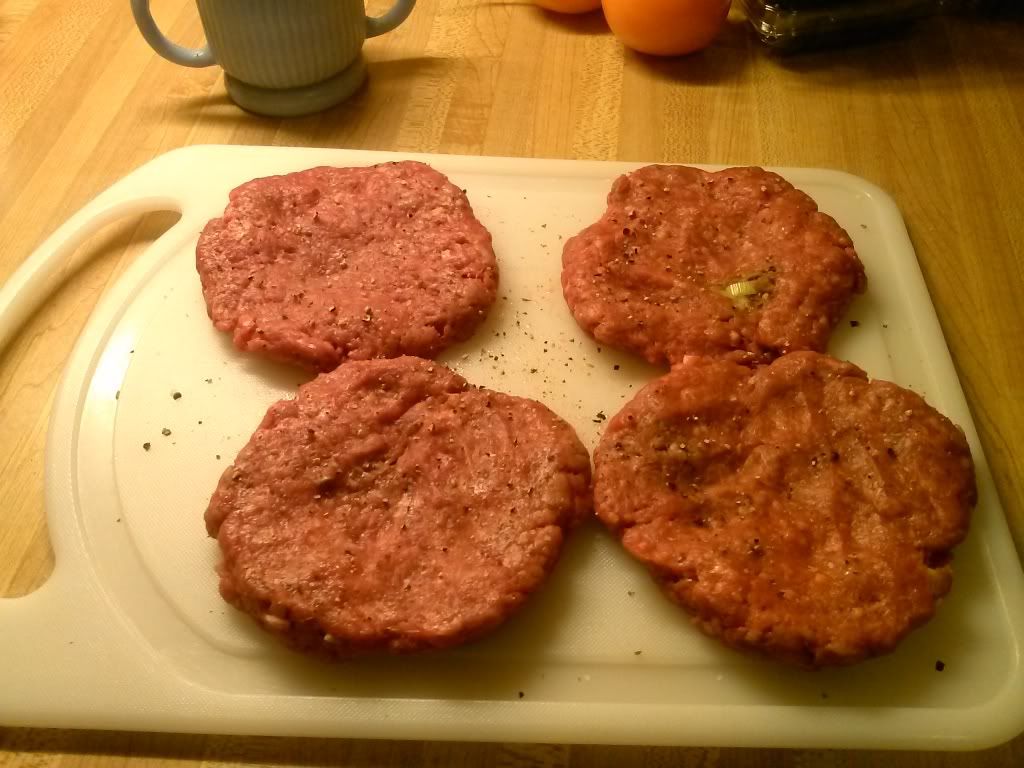
First, mix in some worscestershire, garlic, and seasonings. In order to get even amounts of additives in each 1/4 lb patty, I mixed into each one individually. I started by making a small little well in each patty. The patties are just the one pound block of ground beef (85/15 grass fed in this case) cut into four.
Pour a little worscestershire into each well.
Then, take the last bit of spring garlic you have from your last recipe and add it to the little wells. By spring garlic, I'm referring to fresh bulbs with greens still attached. The greens look just like green onions, but they smell like garlic on steroids. The bulb itself isn't papery or dry at all; you can cut off the roots and chop up the rest of the head, no clove separation required! Then, add your seasonings: you could use salt, pepper, thyme, red pepper flakes, whatever strikes your fancy! I used a mix of salt, pepper, onion, red pepper flakes, and dried celery.
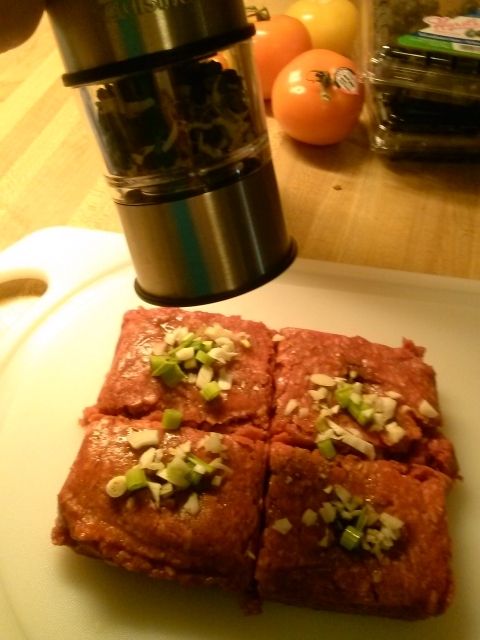
Then, bring up the corners of each square and create a ball with the garlic and seasonings in the middle. Form into patties keeping the center a little thinner than the edges. This is key! This is the best way I've found to avoid that puffed up middle thing burgers do. It also helps the patty cook evenly.
Then it's time to throw them in a pre-heated skillet, kids! Some folks like cast iron skillets, and that's fine, but cleaning them scares me. I use my hard-anodized aluminum skillet my mama bought for me (thanks mama!). About medium heat should do it. While they cook, let me show you a few things.
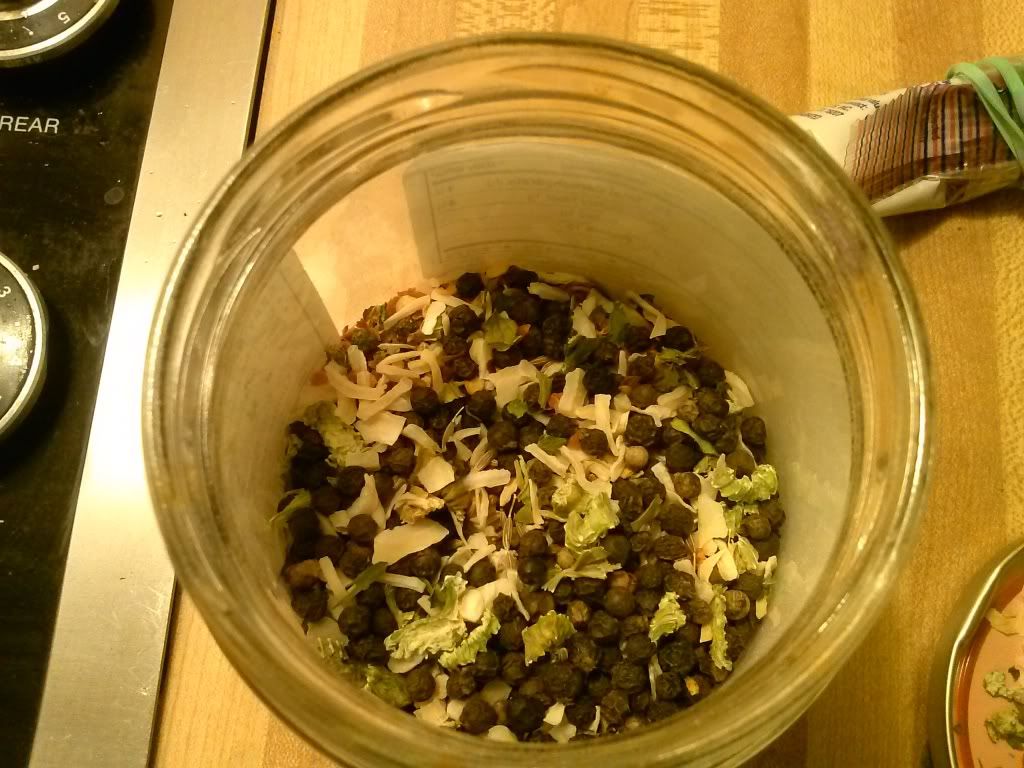
The contents of one of my pepper mills (this is a picture of my spare stash). Black and white peppercorns, dried minced onion, dried celery, red pepper flakes.
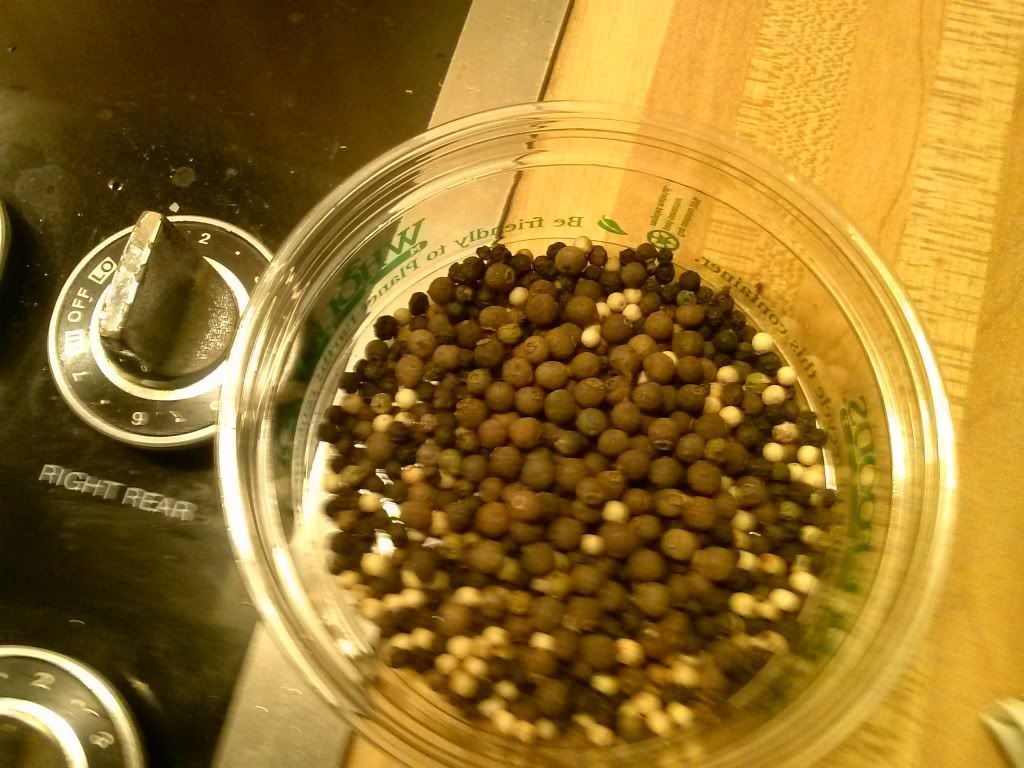
Here's the contents of my other pepper mill - red and white peppercorns and allspice berries!
Ignore the dirty stove.
Then, take a blurry picture of your shaved cat as the meows at your incessantly for no reason.

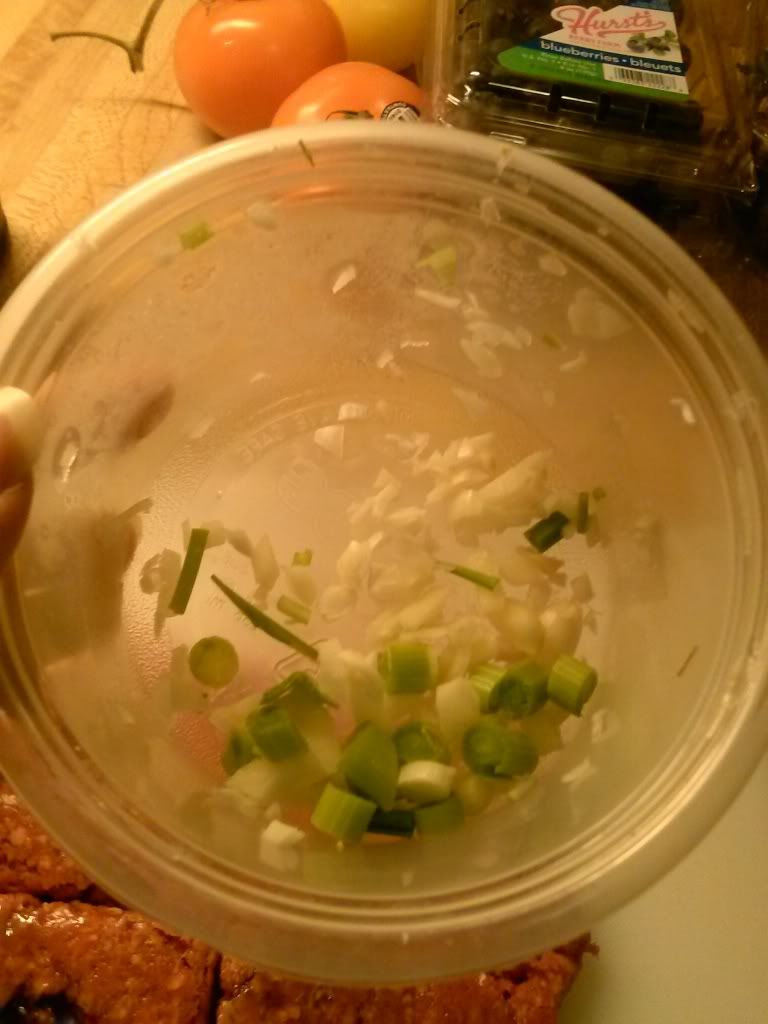
Then slice up some goodness for toppings: onions (spring onions with tops pictured in the little container), bell peppers, tomatoes, avocado!

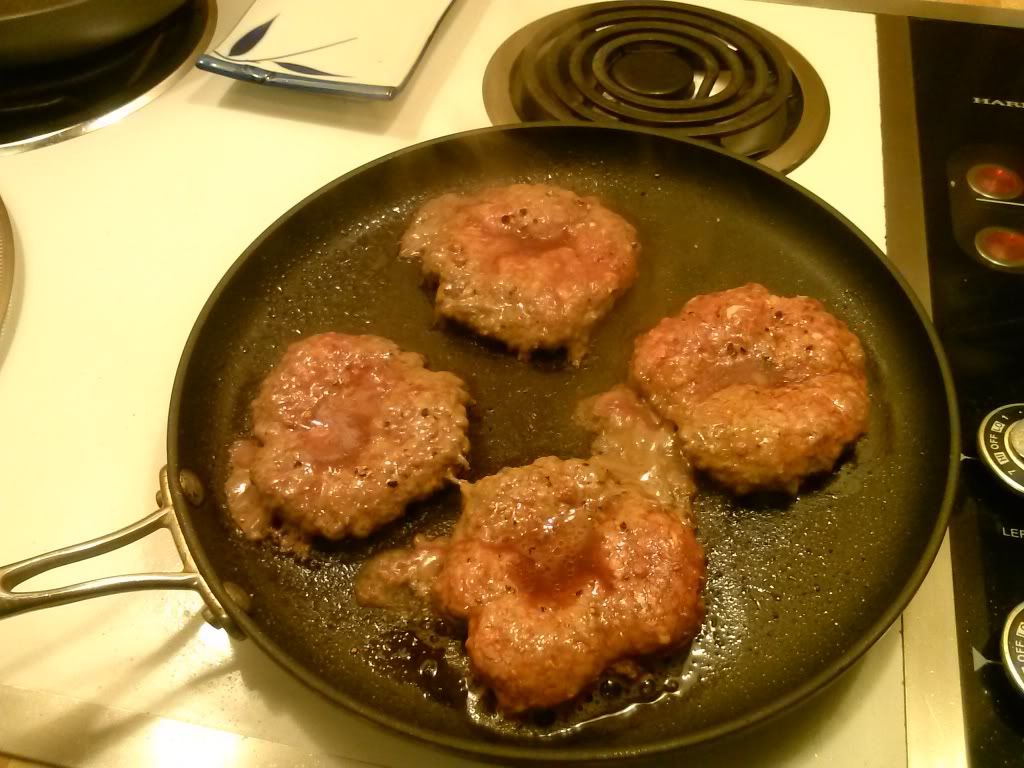
By now, the burgers ought to be about ready to flip, right?
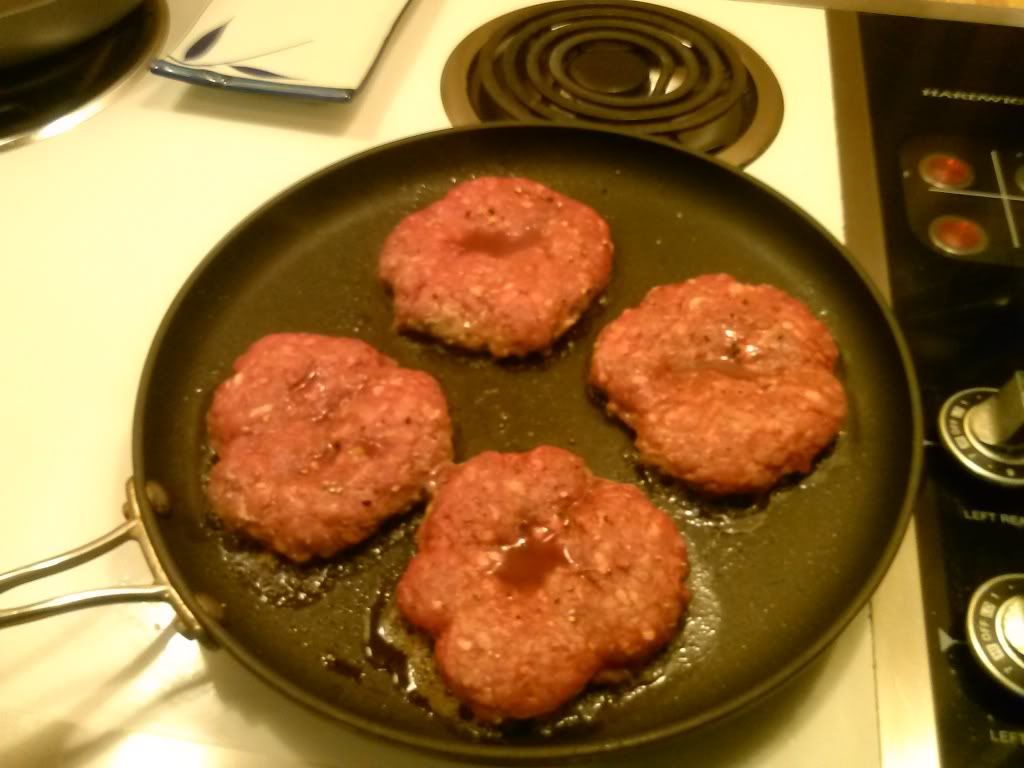
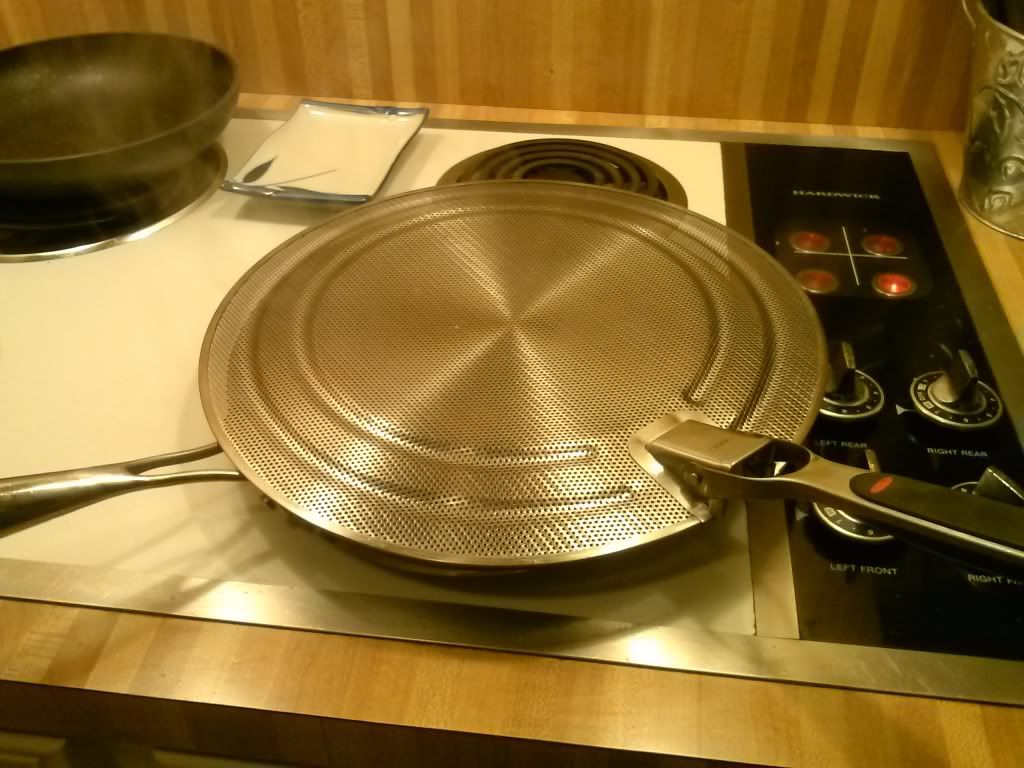
Nope, not ready yet! But they're starting to splatter, so I put on my splatter guard to minimize the amount of grease spreading everywhere.
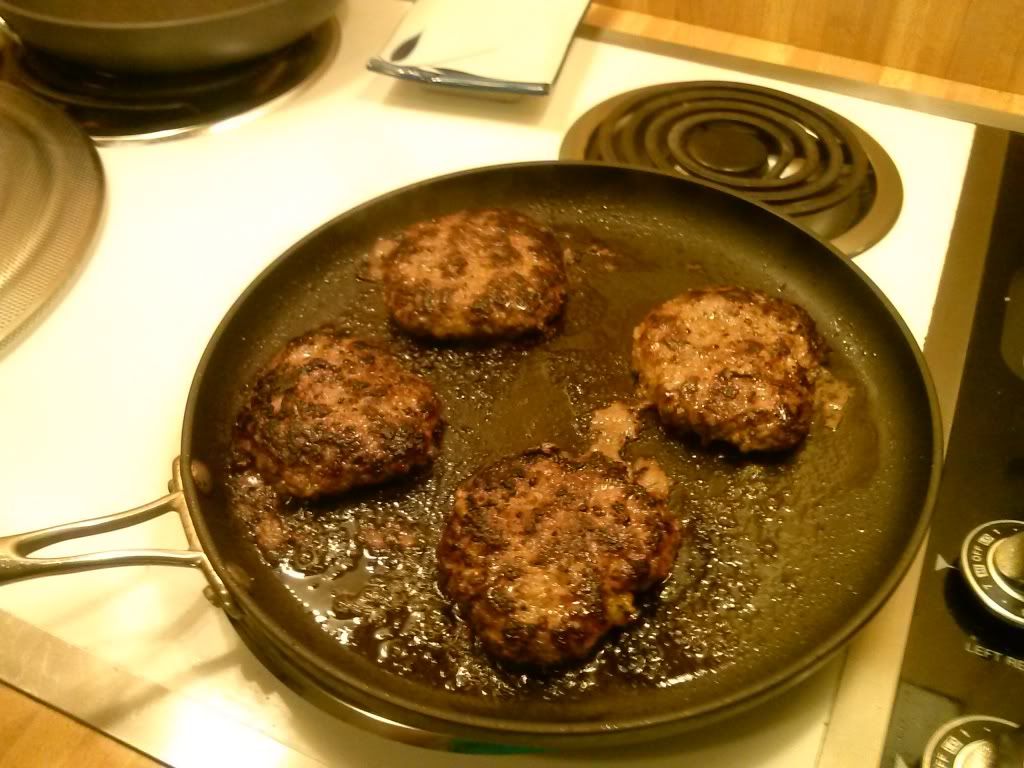
After a few minutes, they're a little more ready. I think in fact I let them go a minute or two too far, but it was all ok in the end.
Time to flip!
Then, after just a few minutes, yeah baby...
Set the burgers on paper towels to absorb the grease while you yell at your husband to come to dinner.
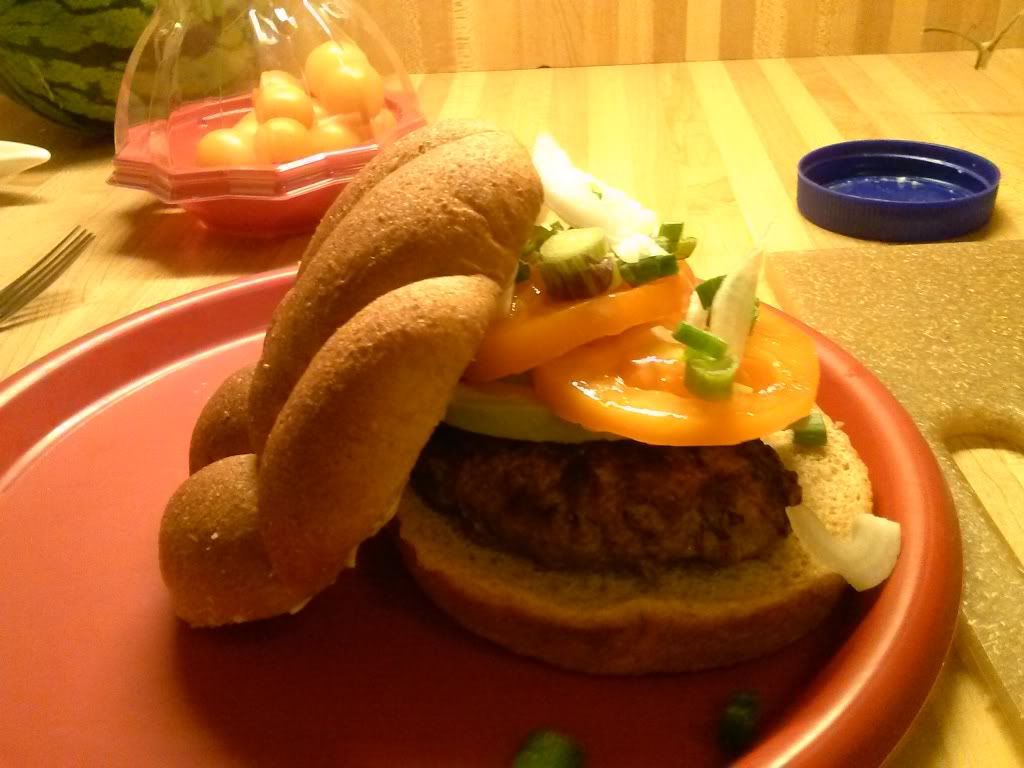
Then, pile it on top of some yummy bread, add your toppings and some mayo because you like mayo on your burgers, kids!
No comments:
Post a Comment